Email Setup for Apple Mail (IMAP)
Setting up Apple Mail Manually
IMPORTANT: Finish the steps on the Start Here page before proceeding
Open “Mail”
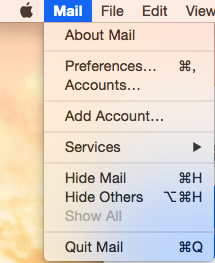
Open Mail. If you haven’t added a new account yet, you’ll be taken directly to the Add Account prompt. If you’re adding an additional account, or this prompt doesn’t otherwise load automatically, you’ll need to select Add Account from the Mail menu.
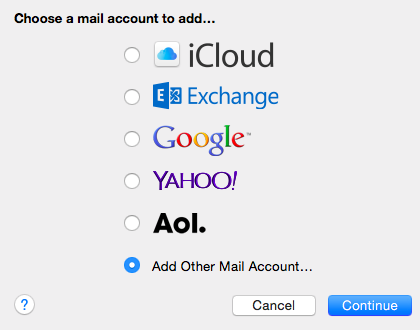
From the Add Account prompt, select Add Other Mail Account… and click Continue.
Adding a Mail Account

Enter your email account information and click Create.
- Full Name: Your name as you would like it to appear
- Email Address: Your email address
- Password: The password for your email account
Mail will attempt to contact the mail server automatically. This will fail, with the error message “Unable to verify account name or password”. Don’t worry, this is normal. You will need to manually add the mail server.
Manually adding the mail server
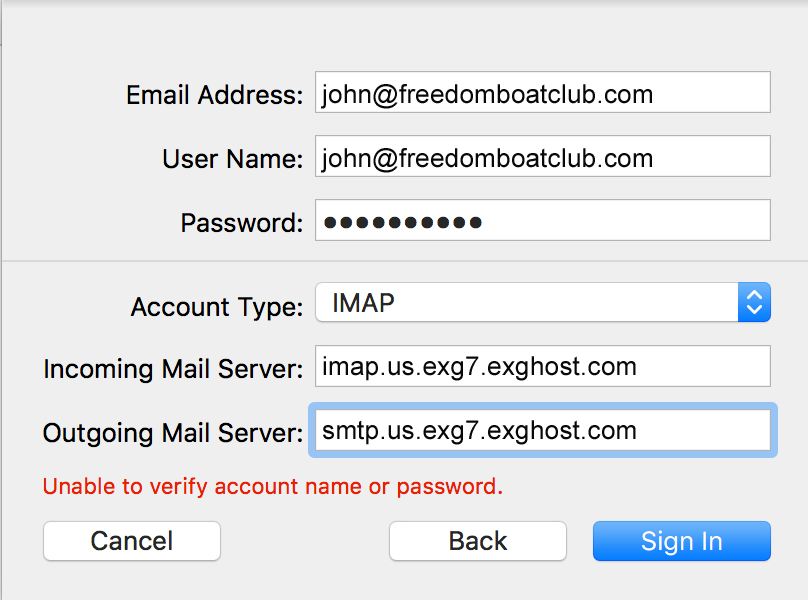
After the system fails to automatically detect settings, add the following information:
NOTE: If you do not see this box and are using a version of Apple Mail that was released prior to OSX Sierra, skip to “Additional steps for older versions of apple mail”.
- Email Address: Your full email address
- User Name: Your full email address
- Password: The password for your email account
- Account Type: IMAP
- Incoming Mail Server: imap.us.exg7.exghost.com
- Outgoing Mail Server: smtp.us.exg7.exghost.com
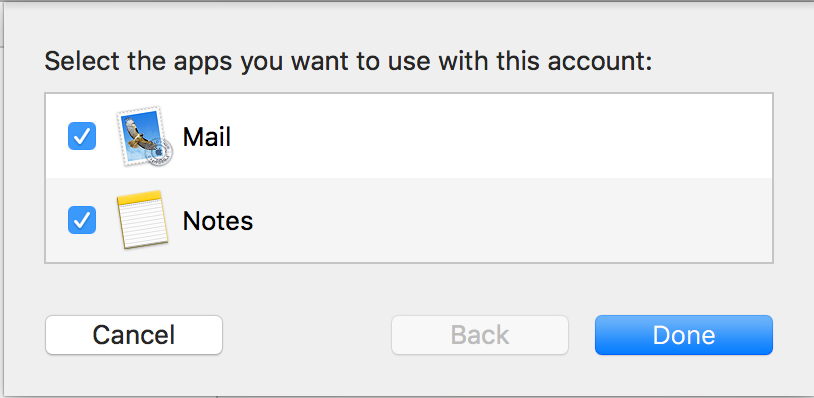
Select apps to use with the account