Email Setup for Android Phones/Devices (POP)
Note: your device’s icons and menu layout may appear different than our examples.
IMPORTANT: Finish the steps on the Start Here page before proceeding
Setting up a new account
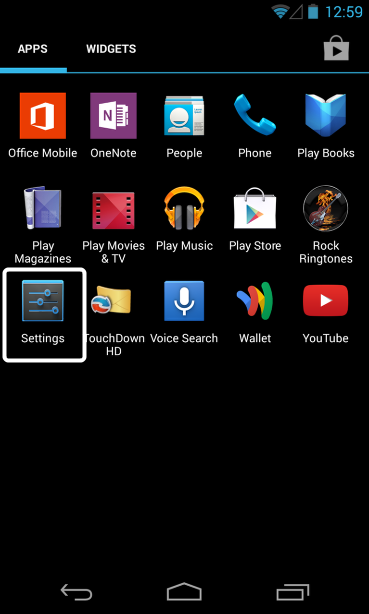
Unlock your device, then tap “Settings”.
Settings Menu
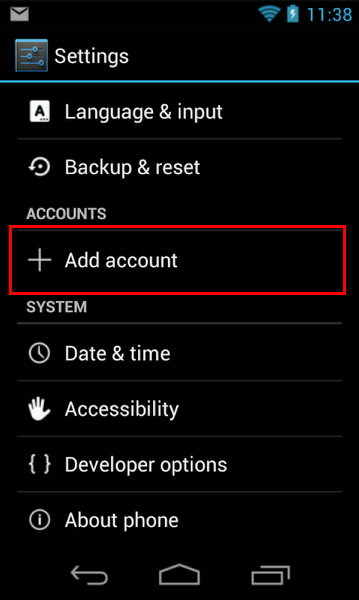
From the Settings menu, tap “Accounts” (this can differ depending on your phone, may be called “Email”)
Next, tap “Add account”
Email Type
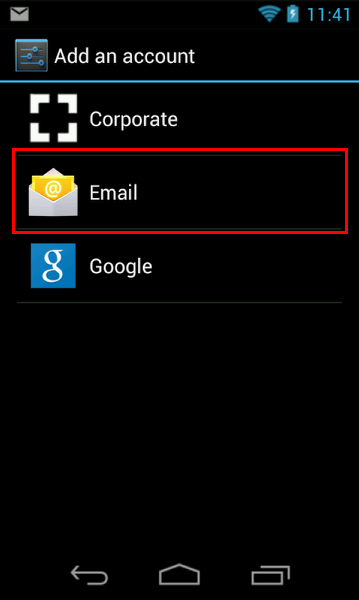
Select Email.
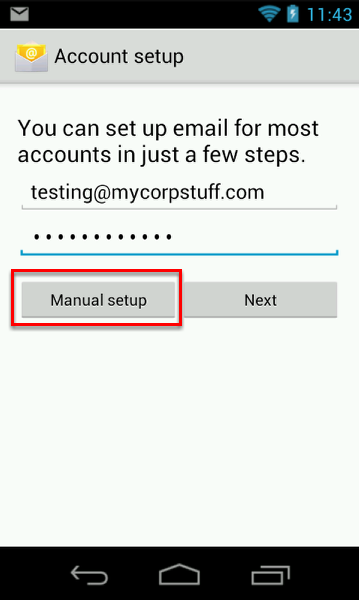
Enter your email address and password. Tap Manual setup.
Type of Account

Tap POP3 (or POP) as your account type.
Enter Server Information

Incoming Mail Server
- Username: Enter your email address
- Password: Enter your email password
- POP server/Incoming Mail Server: pop.us.exg7.exghost.com
- Port: 995
- Security type: SSL (might be a check box “This server requires an encrypted connection (SSL)”, if so, please check the box)
Tap Next
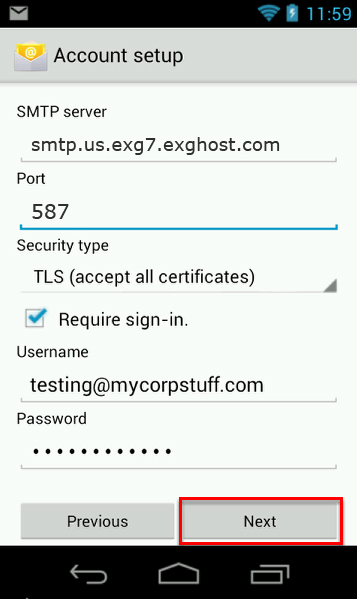
Outgoing Mail Server
- SMTP server/Outgoing Mail Server: smtp.us.exg7.exghost.com
- Port: 587
- Security type: TLS (accept all certificates)
- Username: Enter your email address
- Password: Enter your email password
Once the server information has been added, tap Next.
Sync Settings
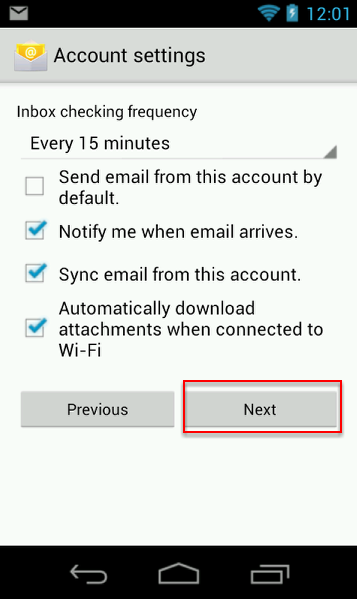
Select the services to synchronize and tap “Next”.
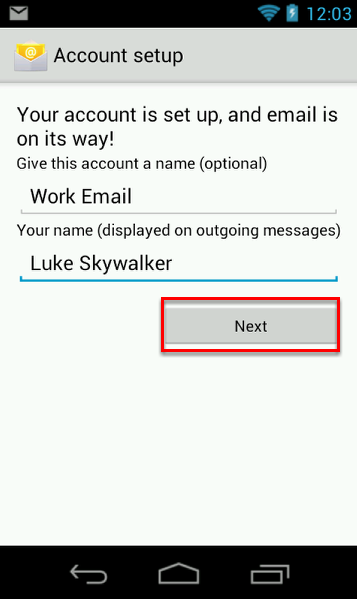
Set your outgoing display name and click Next
Email Sync
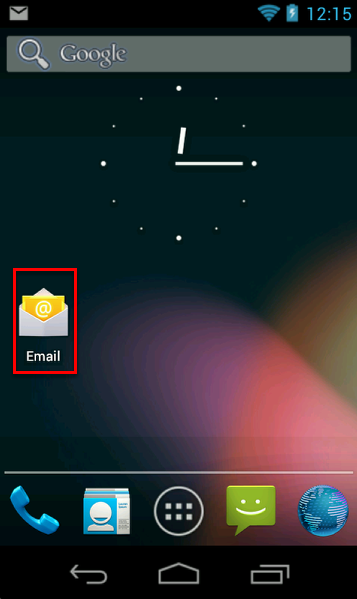
Tap the Email app.
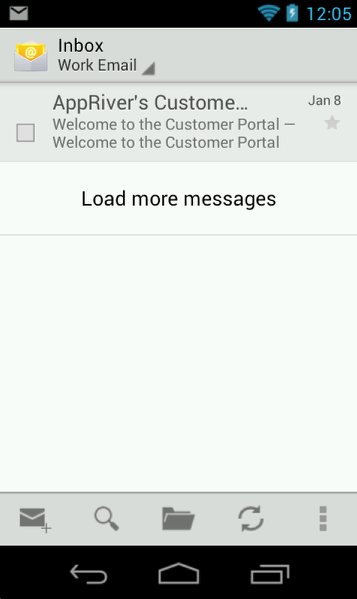
Once opened, your email will begin to sync. This process will take several minutes depending on how much data you have and your mobile connection speed
Congratulations! Your new email account has been setup.
Removing an old account
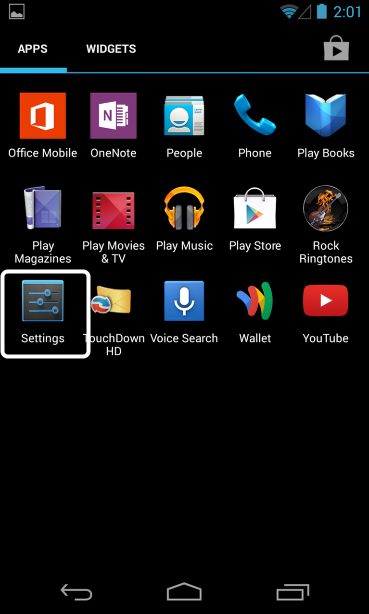
Unlock your device, and then tap the Settings icon.
Accounts
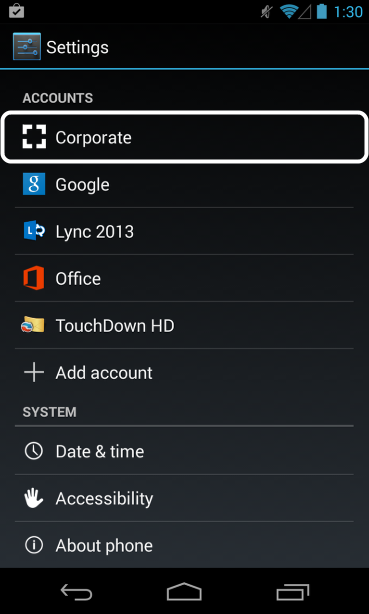
From the Settings menu, tap “Accounts”. Choose which email you wish to remove.
Select the account to remove
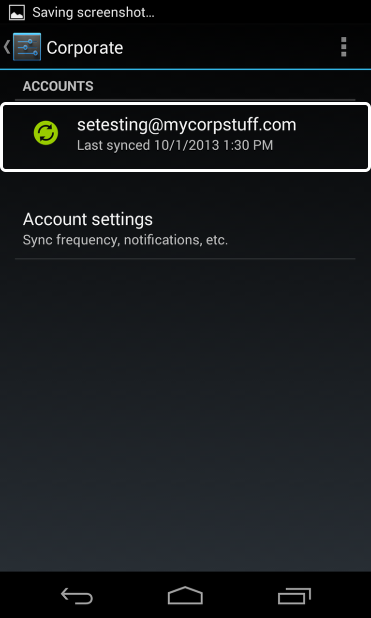
Tap the account you are going to remove.
Delete the account
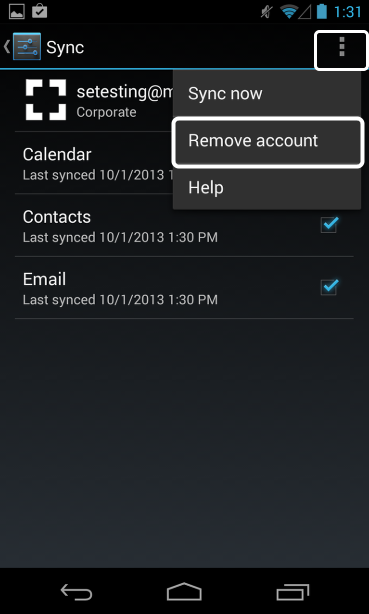
Tap on the menu button (may vary depending on your device) and remove the account.
Confirm account removal
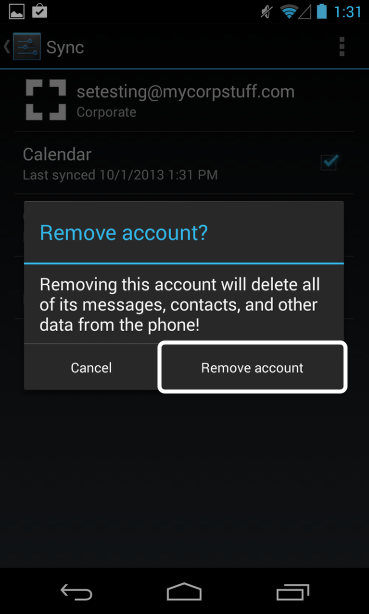
Tap “Remove account” to confirm clearing the account from your device.
